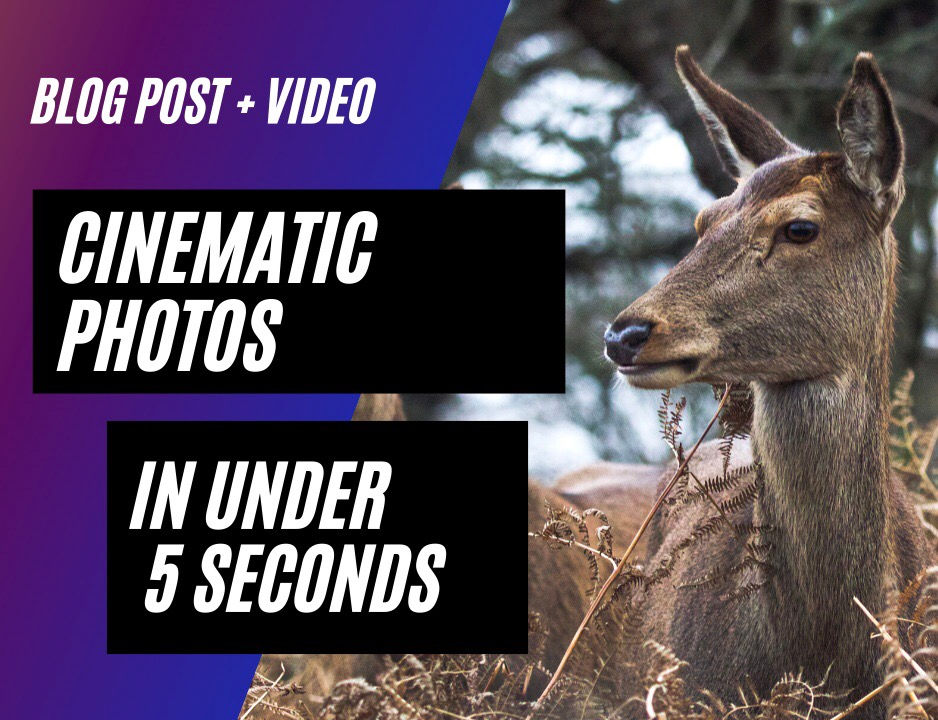
How to Create Cinematic Photos in Lightroom in Under 5 Seconds!
- Charlie’s Wildlife Photography
- Sep 22, 2021
- 0 min read

You may think creating cinematic looking photos is either difficult to do or takes a lot of practice. With some techniques that may be true but I am going to show you a way of doing it in 2-3 steps and in under 5 seconds.
Step 1 (S Curve)
The first thing you need to do is create what’s called an S curve. It’s a very common, simple and popular editing technique.
You will start by going into the light panel in Lightroom and clicking on the tone curve. Then pull down on the bottom half of the line and pull up on the top half. This creates more contrast in your photo by darkening the shadows and lightening the highlights.

Step 2 (Flick the Tail)
The next step is the part that really gives photos that ‘cinematic look”. All you need to do is pull up the bottom of your tone curve. This makes the blacks in your photo not “true black” but more of a dark grey and makes the photo look more film like.

Step 3 (Optional Blue Tint)
The last step is optional but can look really cool on certain photos. It’s very simple you just go into the blue section of the colour curve and slightly pull it up from the bottom. This will add a blue tint to the darker parts of your image. You can also do this with any of the other colours but in my opinion it works best with blue.

So that’s it, that’s how you can make a cinematic photo in under 5 seconds. I’ve made a short video below showing it being done…
Before and after photos…
Orginal

Cinematic

Cinematic (Blue tint)

Thanks for reading, please share if you enjoyed this post.
Subscribe Now for photography tips, editing tricks, wildlife encounters, location guides, workshop updates and more…
Plus receive a Lightroom preset every month when you subscribe, it’s free why not :)
Subscribe Below ⬇️
Comments